How Do I Set Up a Contest in the SoCast Contesting System? (Updated Guide for Radio Broadcasters)
How Do I Set Up a Contest in the SoCast Contesting System? (Updated Guide for Radio Broadcasters)
 This Article Is For:
- All users with 'Promotions' permissions
- Applicable to all SoCast Themes
 For a video tutorial, please visit: Google Drive Video Tutorial
 Testing Your Contest: If you need to test your contest, log out of the CMS and use a different email address than the one used for CMS access. Using the same email can cause instability in the contesting tool.
Sandbox Accounts: If testing on a SoCast CMS domain (e.g., dxxx.cms.socastsrm.com), you must log out from the backend to avoid a registration loop. To prevent this, use a proper vanity domain or log out of the backend before entering the contest.
Overview
Creating a new contest in SoCast is similar to creating a page or blog post. This guide will walk you through setting up your contest using the blank canvas format. Other contest formats can also be edited to fit your needs.
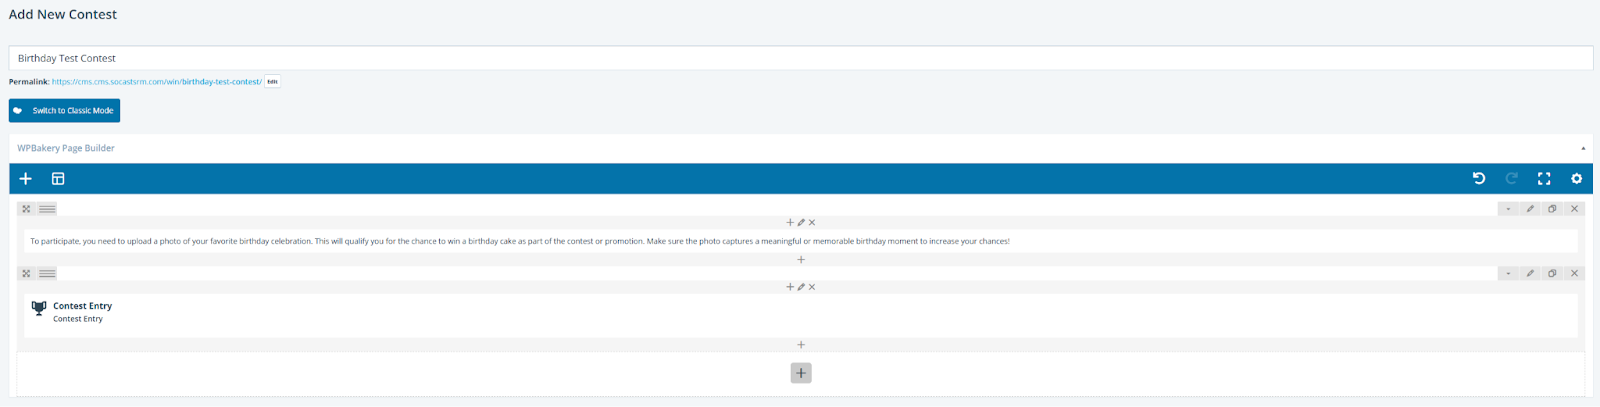
1. Content Area
- Navigate to Promotions > Contests > All Contests > Add New Contest > Choose a Template.
- Add Title: Enter the title of your contest.
- Use one of the following editors to add and design your contest content:
- Back-end Editor: Provides a visual preview of your contest page. Add content elements from the available selection.
- Add Element: Click or drag the 'Add Element' button to insert content elements.
- Templates: Click the 'Templates' button to load or save templates for reuse.
- Classic Mode: Works like a Microsoft Word document with a toolbar.
- Visual: Edit and format content in a word processor-like view.
- Text: Edit content using custom CSS and HTML.
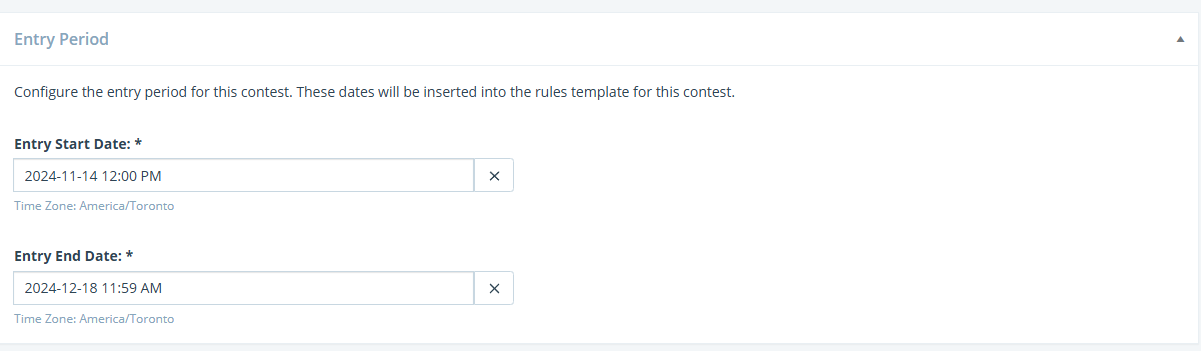
2. Entry Period
Set the entry period for your contest. These dates will be included in the contest rules template.
- Entry Start Date: When contest signups begin.
- Entry End Date: When contest signups end.
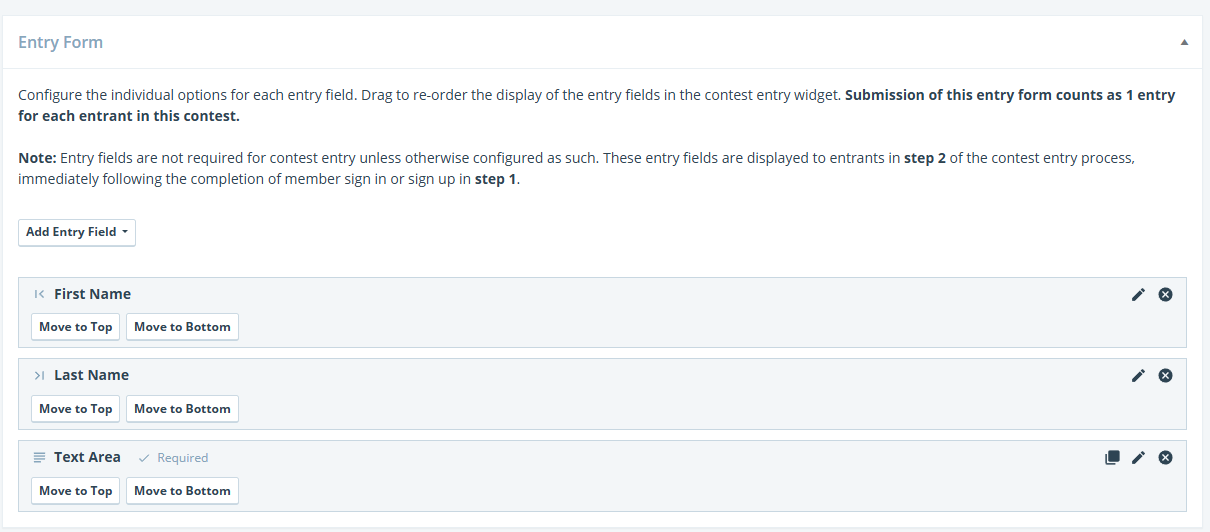
3. Entry Form (New Feature)
Customize the information required for contest entry. By default, first name, last name, and email are required. You can add or reorder additional fields as needed.
- Member Fields: Add fields such as Last Name, Phone Number, Birth Date, Birth Year, Gender, Location.
- Custom Fields: Add custom options like Text Field, Text Area, Number, Dropdown.
Configure each field as required or optional. Submission of this form counts as one entry per entrant. Entry fields appear in step 2 of the entry process, after member sign-in or sign-up (step 1).
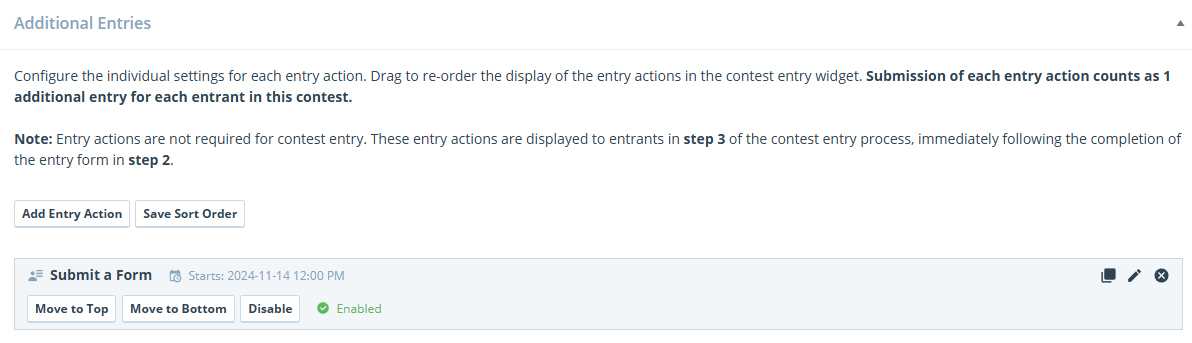
4. Additional Entries (Updated)
Configure actions that allow entrants to earn extra entries (e.g., sharing on social media). Each completed action counts as one additional entry. These appear in step 3 of the entry process, after the entry form.
- Click Add Entry Action to add required actions for contest entry.
- For more on Entry Actions, see: Entry Actions Guide
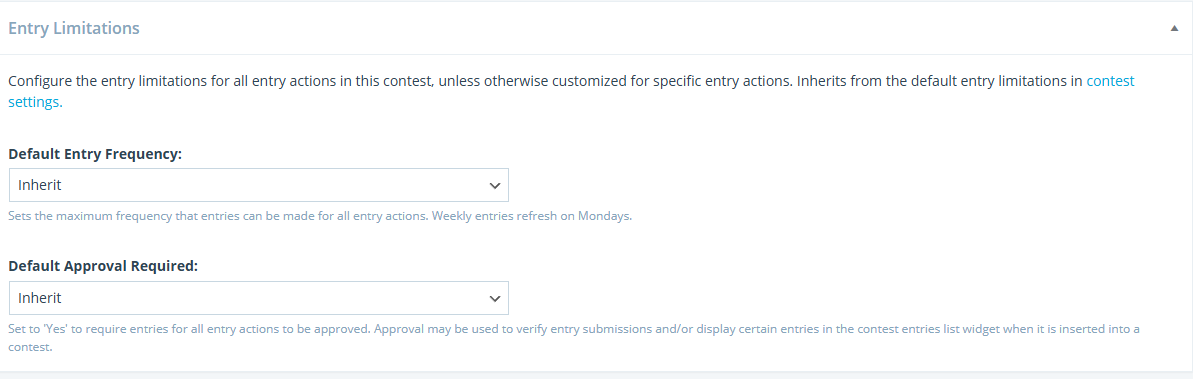
5. Entry Limitations
Set limitations for how often users can enter. These settings inherit from the default contest settings unless customized.
- Default Entry Frequency: Sets the maximum frequency for entries (e.g., once per day, week, or contest).
- Default Approval Required: Set to 'Yes' to require approval for entries.
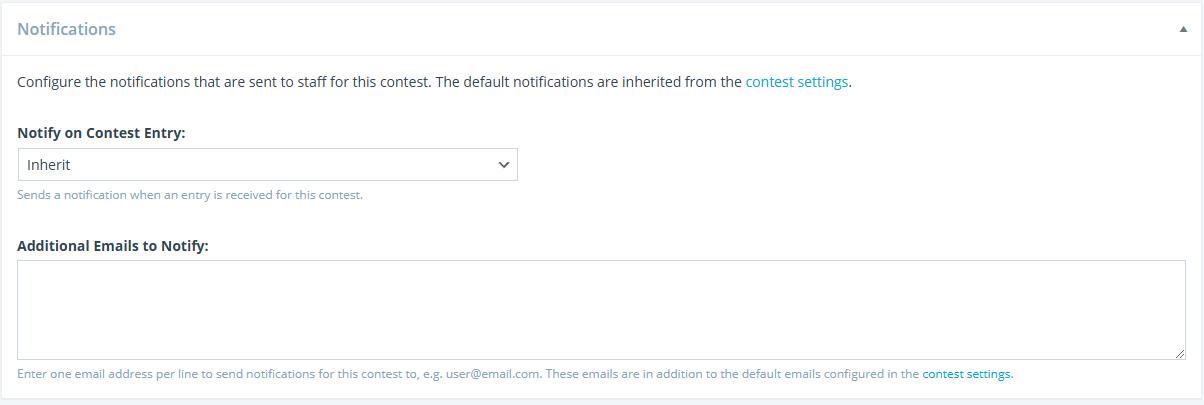
6. Notifications
Configure staff notifications for contest entries. These settings inherit from the contest settings unless changed.
- Notify On Contest Entry: Set to 'Yes' to notify the configured email on new entries, 'No' to disable, or 'Inherit' to use default settings.
- Additional Emails to Notify: Enter one email per line to receive notifications for this contest.
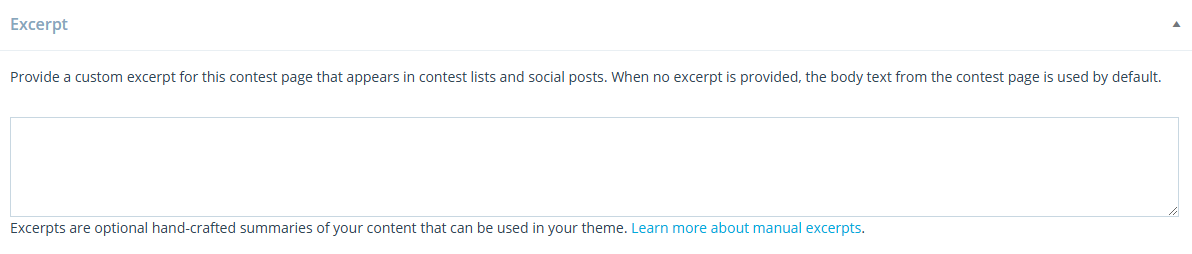
7. Excerpt
Excerpts are optional summaries used in your theme, contest lists, social posts, and search engine results.
- Scroll to the bottom and find the ‘Excerpt’ box.
- Enter the text to display in the contest list widget and social previews.
- If left empty, SoCast will auto-generate an excerpt from the first sentences of your post.
8. Publish
- Preview on Desktop/Mobile: See how your contest will appear on different devices.
- Status: Set the contest as draft or published.
- Publish: Click Publish to make your contest live, or Edit to schedule a future publish date.
- Expiry Date: Set when the contest will expire and move to draft mode.
- Visibility: Choose who can see your contest:
- Public: Visible to all site visitors.
- Members Only: Visible only to logged-in users.
- Save Draft: Save your contest without publishing.
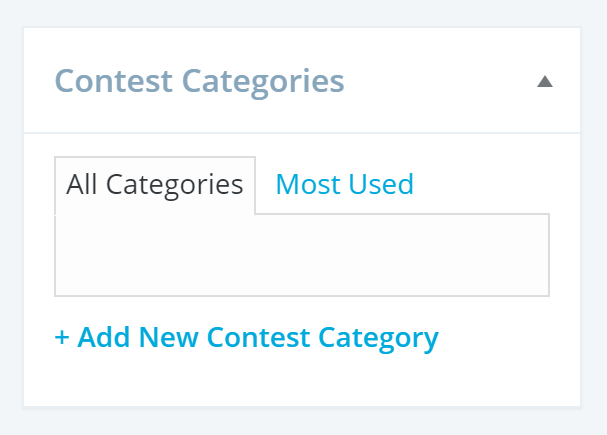
9. Contest Categories
Organize your contests using categories. In the right column, under “Contest Categories,” select or create a category for your contest.
- All Blog Categories: View all available categories.
- Most Used: View frequently used categories.
- Add New Contest Category: Create new categories for organization (e.g., Photo Contests, Listen to Win).
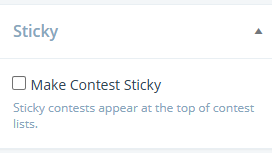
10. Sticky
Use the Sticky Contests feature to keep a contest at the top of the contest list until it expires or is removed.
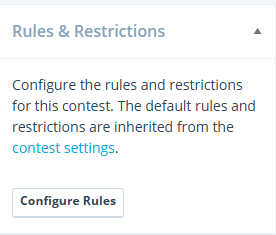
11. Rules and Restrictions
Configure contest rules and restrictions (e.g., minimum age, location). Defaults are inherited from contest settings.
- Click Configure Rules.
- Set the following:
- Default Legal Country: Country whose laws apply to the contest.
- Legal Entity: The legal entity presiding over the contest (e.g., station or company name).
- Location: City, state, or province required for entry.
- Minimum Age: Minimum age required to enter.
- Rules Template: Customize as needed.
- Click Save when finished.
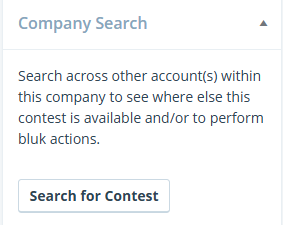
12. Company Search
Search across other accounts within your company to see where else this contest is available or to perform bulk actions.
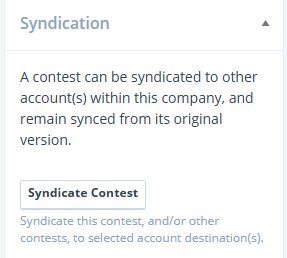
13. Syndicate Contest
Syndicate a contest to other accounts within your company and keep it synced with the original version.
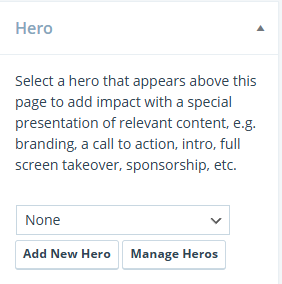
14. Hero
Select a hero image or content to appear above your contest page for branding, calls to action, or sponsorship. Heroes must be created under Website > Website Structure > Heroes first.
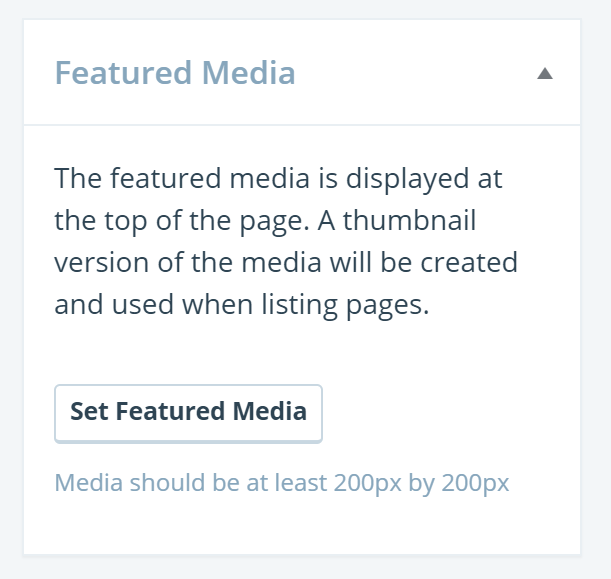
15. Featured Media
Add a featured image for your contest. This image is used for social previews and contest lists. Recommended size: at least 200x200px. If no image is added, the station/account logo will be used.
- Set Featured Media: Click to upload or select an image.
- Crop Thumbnail: Crop your image as needed.
- Edit Original: Edit the original image in the media library.
- Change: Replace the image.
- Remove: Delete the image.
- Post Page Image Placement: Choose between Full Width (across the top) or No Image (only in lists/social posts).
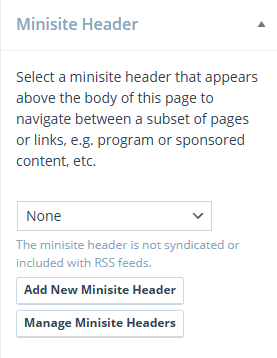
16. Minisite Header
Select a minisite header to appear above your contest body for navigation between related pages or links. Minisite headers must be created under Website > Website Structure > Minisite Headers first.
Need more help? Contact SoCast Support for additional assistance with contest setup.
Related Articles
What Is the Table of Contents for the New SoCast Contesting System?
Contests Table of Contents (New Contesting System Updated) This Article Is For: All users with 'Promotions' permissions Applicable to all SoCast Themes Requirements: If you have transitioned to SoCast via Promosuite, you will not have access to the ...How Do I Set Up Default Contest Settings in the New SoCast Contesting System?
How Do I Set Up Default Contest Settings in the New SoCast Contesting System? This Article Is For All users with "Promotions" permissions Applicable to all SoCast Themes To set your default contest settings, including limitations and legal ...What Is the Overview of the SoCast Contesting Tool 1.5 for Radio Broadcasters?
Overview of SoCast Contesting Tool 1.5 This Article Is For: All users with 'Promotions' permissions Applicable to all SoCast Themes Requirements: If you have transitioned to SoCast via Promosuite, you will not have access to the contesting feature. ...How Do I Add Entry Actions to My Contest in the New SoCast Contesting System?
This Article Is For: All users who have 'Promotions' permissions This is applicable to all SoCast Themes For a video tutorial, please visit: https://attendee.gotowebinar.com/recording/8086278421136595718 Add New Entry Action Join an Email Newsletter ...What Are Some Photo Contest Ideas for Radio Broadcasters Using SoCast?
What Are Some Photo Contest Ideas for Radio Broadcasters Using SoCast? Who This Article Is For All users with Promotions permissions Applicable to all SoCast themes Important Note For photo contests, user-submitted photos must be in JPG or PNG format ...